At thethings.iO we love to play with hardware and today we are going to show you how to program and send data with a Particle Photon board to thethings.iO. For this, we are going to use the Particle Buid system as the IDE because it’s more integrated on the Particle system.
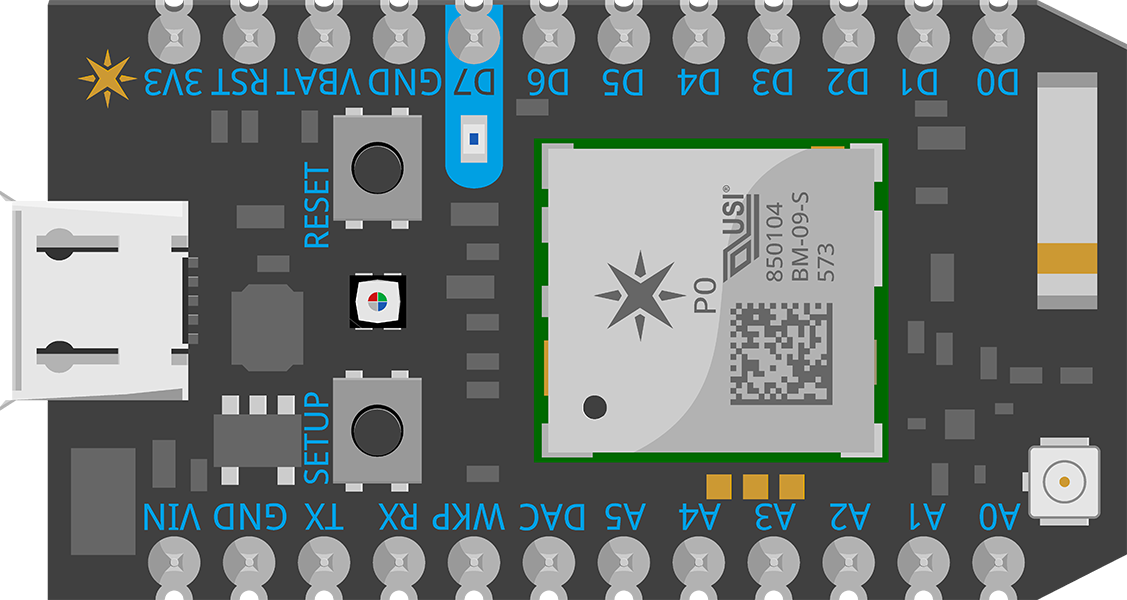
Particle Photon
Let’s start showing you how to connect the Particle Photon which is a WiFi board with thethings.iO IoT platform in order to have a Photon on steroids thanks to thethings.iO features.
If you already have an account and your device is already claimed, please jump to step 3.
-
- Claim your photon: Install particle-cli and type “particle setup” from a terminal console. This command will guide through account creation and device claiming (make sure you connect your device via usb first).
- Create a thethings.iO account: If you still don’t have an account, please register at thethings.iO IoT platform. In order to create a new thing:
- Enter to your account and click on Things.
- Press on Create new IoT product.
- Give a name and choose Other for the board.
- Finish the steps and remember the thing Token.
Particle IDE
- Navigate to the particle build IDE.
-
- Click on the fourth row (Devices) and press the star in order to select the devices as preferred to flash.
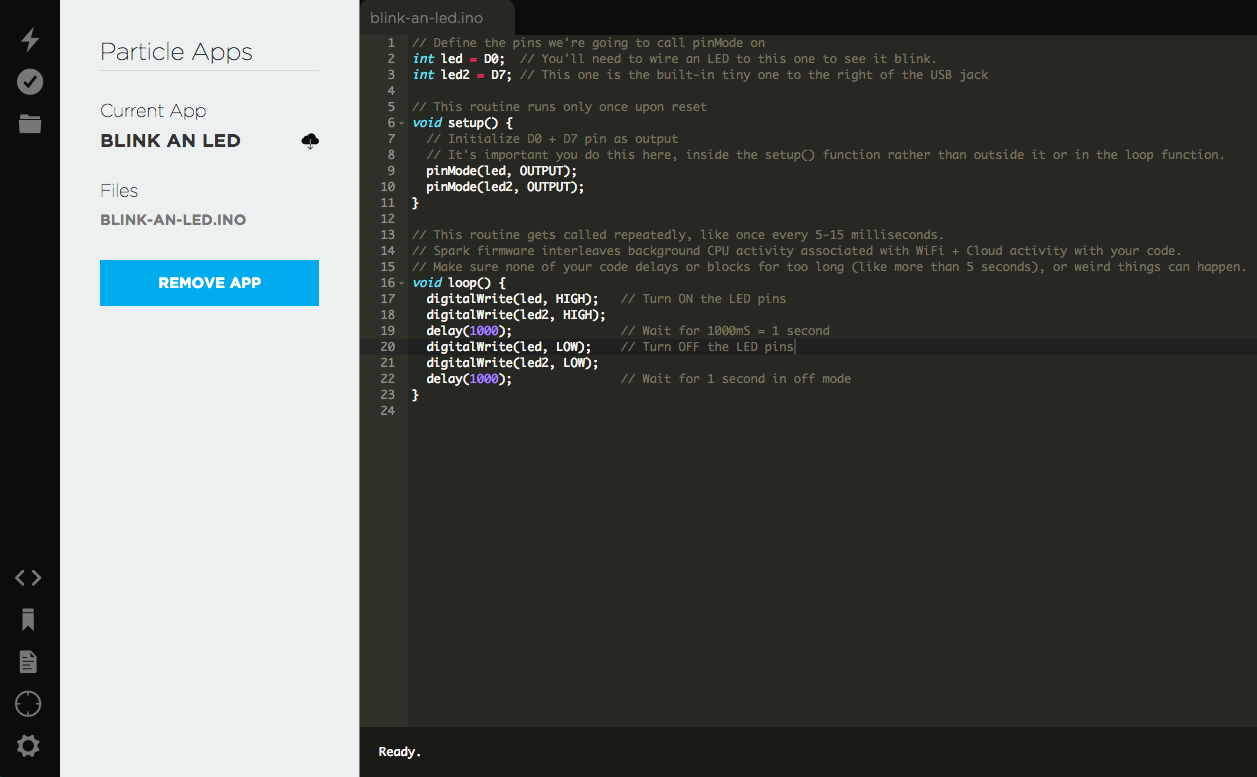
- Clone our github repository about the Photon Particle. Feel free to reproduce our example or change the code at your own.
#include "MQTT/MQTT.h" void callback(char* topic, byte* payload, unsigned int length) { // MESSAGE HAS ARRIVED FROM THE THETHINGS.IO String text = ""; for (int i = 0; i < length; i++) text.concat((char)payload[i]); Serial.println(text); } MQTT client("mqtt.thethings.io", 1883, callback); int a; String TOKEN = "YOUR TOKEN"; String TOPIC = "v2/things/"+TOKEN; String WIFI_SSID = "your wifi"; String WIFI_PASSWORD = "your password"; void setup() { pinMode(D1,INPUT_PULLDOWN); digitalWrite(D1, LOW); WiFi.on(); WiFi.setCredentials(WIFI_SSID, WIFI_PASSWORD); while(!WiFi.ready()) { Serial.print("."); } Serial.println(""); Serial.print("Connected ssid"); while (!client.connect("photonclient")) { Serial.println("Could not subscribe, retrying..."); } client.subscribe(TOPIC); // SUBSCRIBE TO RECEIVE CHANGED VALUES FROM YOUR RESOURCES } void loop() { a = random(0,10); if (digitalRead(D1) == HIGH) { message = "{"values":[{"key":"fun","value":"+String(a, DEC)+"}]}"; client.publish(TOPIC, message); delay(5000); // ADDED A LITTLE BIT DELAY TO REDUCE BOUNCES } if (client.isConnected()) { client.loop(); } }- Flash the code into the Photon using the thunder icon (top left section).
-
- Create a thethings.iO dashboard: Now it’s time to create a dashboard in your thethings.iO account to show all the values sent by the Photon. Lets create some charts:
- Click on the Add Widget blue button.
- Give a name to the Widget.
- Select Thing Resource inside Data Source.
- Select thing you just created before.
- Select the name of the resource you want to display and the format (pie, chart, graph…).
- Click on Costumize it and select the number values you want to show.
- Accept and Save!
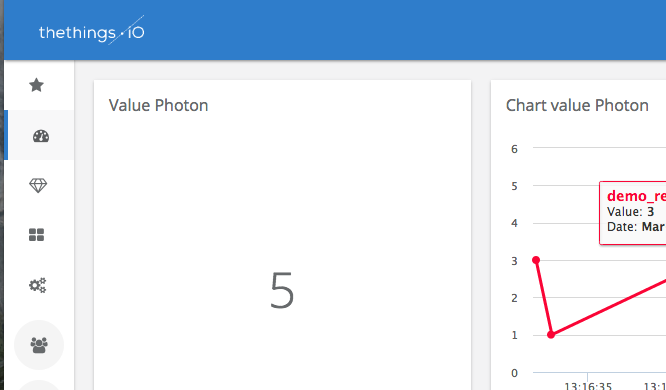
Repeat this last step to build awesome dashboards with thethings.iO!