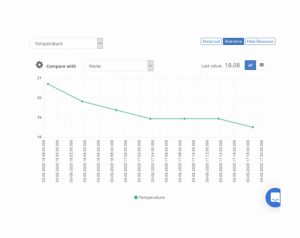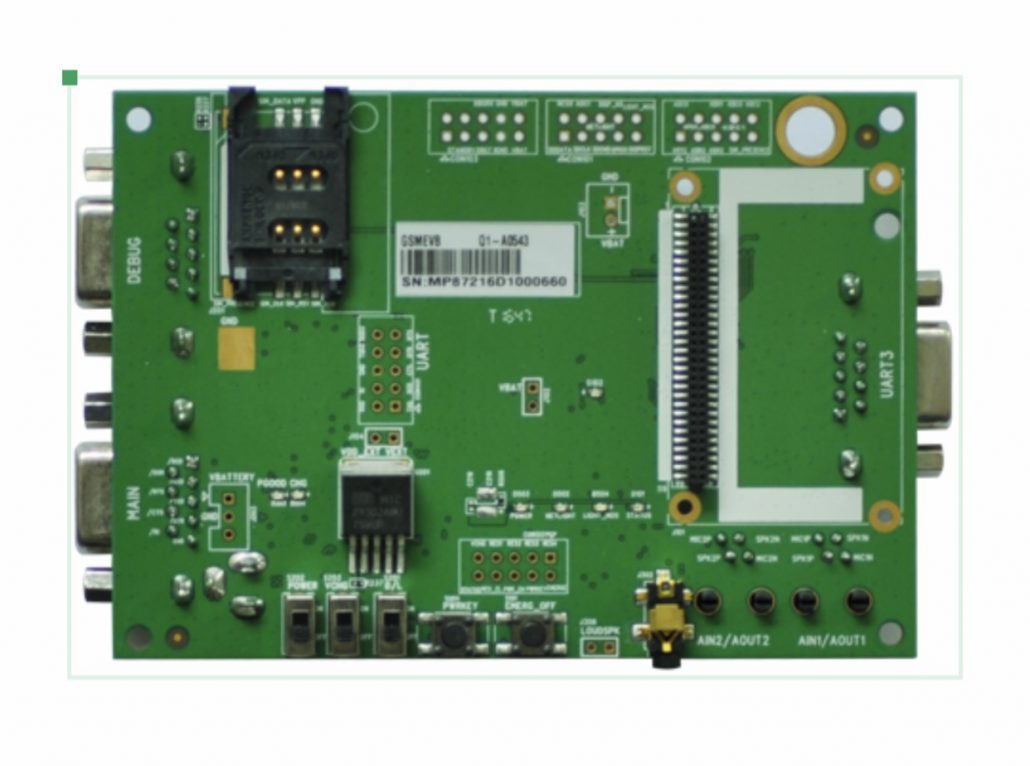
In this post we will explain how to connect via HTTP to the Thethings.io platform through the Quectel M95. A high-performance and economical GSM / GPRS module, with which the Chinese manufacturer, Quectel, reduces the TTM (time to market) in addition to providing other connectivity options for IoT products.
Step by Step tutorial
For this exercise it is necessary to have, in addition to the QUEGSMEVB-KIT development board and the M95FATEA-03-STD module with its SIM card, the Docklight analysis and simulation tool. A software made exclusively for serial communication protocols. To download the latest version, click on the following link.
OPEN A PROJECT
Thethings.io has created a small project (ttio_quectel_http_client) made up of the AT commands necessary to: first, configure the GPS module, and then connect it to the platform. Finally, a command will be executed each time you want to send a fictitious temperature sample, since the module does not have a temperature sensor. To download this file, click here https://github.com/theThings/Quectel_HTTP_AT_Commands
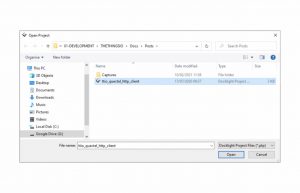
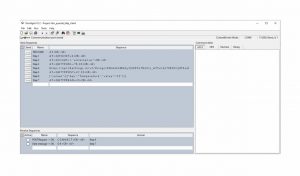
Once downloaded, power the development board and connect it through the RS232-USB converter cable to the terminal. Run the Docklight and select the start option “Start with a blank project / blank script“. Click on the tab “File” and select the option “Open Project ...”. A dialog box will appear asking us to select the file to open. Find the file named “ttio_quectel_http_client” and click the “Open” button. Automatically, within the “Send Sequences” box (right of the screen) a list of commands will appear in order of steps.
Next, configure the correct communication port by double click on the COM8 box (above the “Communication” box). Each terminal assigns it randomly, so the one that appears in the example does not have to be the same.
Finally, make sure that the “ASCII” tab of the “Communication” box (left of the screen) is selected, to have a better understanding of the steps we are about to take. And click the play icon to start communication with the Quectel N95.
STEPS TO FOLLOW
The orderly execution (Q) of the AT commands and their response (A) are shown below to know that the sequence is performed correctly. To send / execute a command is as simple as pressing the arrow button located to the right of each one of them.
STEP 1:
Q: AT+QIFGCNT =0
A: OK
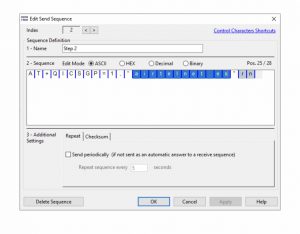
STEP 2: Write within the double quotes the identifier of the SIM card provider. In this example, a card from the old Airtel, today known as Vodafone, was used. To modify this command, double-click on it and a dialog box will open where you can enter the new name. It is updated once the “OK” button has been clicked.
Q: AT+QICSGP=1,”airtelnet.es”
A: OK
STEP 3: Here it is important to put the exact number of characters of the following command, defined as step 4, and that represents the URL where the post will be made. In this example the result was 78. Therefore, if the result is different, this value will have to be modified.
Q: AT+QHTTPURL=78,30
A: CONNECT
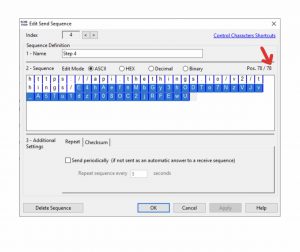
STEP 4: Write the token number that identifies the node to which you want to send the data. To know if the number of characters written in the previous command is correct, check the size of the sequence (red arrow). The part underlined in blue represents the token number to be replaced.
Q: https://api.thethings.io/v2/things/E4hAefnMbGy3hODTo7NzVJv_A5Tu1dz708OC2jRFEwU
A: OK
STEP 5: Here you also have to put the exact number of characters of the following command, defined as step 6, and that represents the data of the post. For this example the result was 47. Therefore, if the result is different, this value will have to be modified.
Q: AT+QHTTPPOST=47,50
A: CONNECT
STEP 6: Write the data stream in JSON format that you want to send. To know if the number of characters written in the previous command is correct, check the size of the sequence. In this case, the fictitious temperature value can be modified or not, substituting the number between double quotes. But be careful, because if the total number of characters is modified, the previous step will have to be repeated.
Q: {“values”:[{“key”:”Temperature”,”value”:”25″}]}
A: OK
STEP 7: This step is optional and is used to find out the response from the server. In this case, the post was a success.
Q: AT+QHTTPREAD=30
A: CONNECT
{“status”:”created”}
OK
